
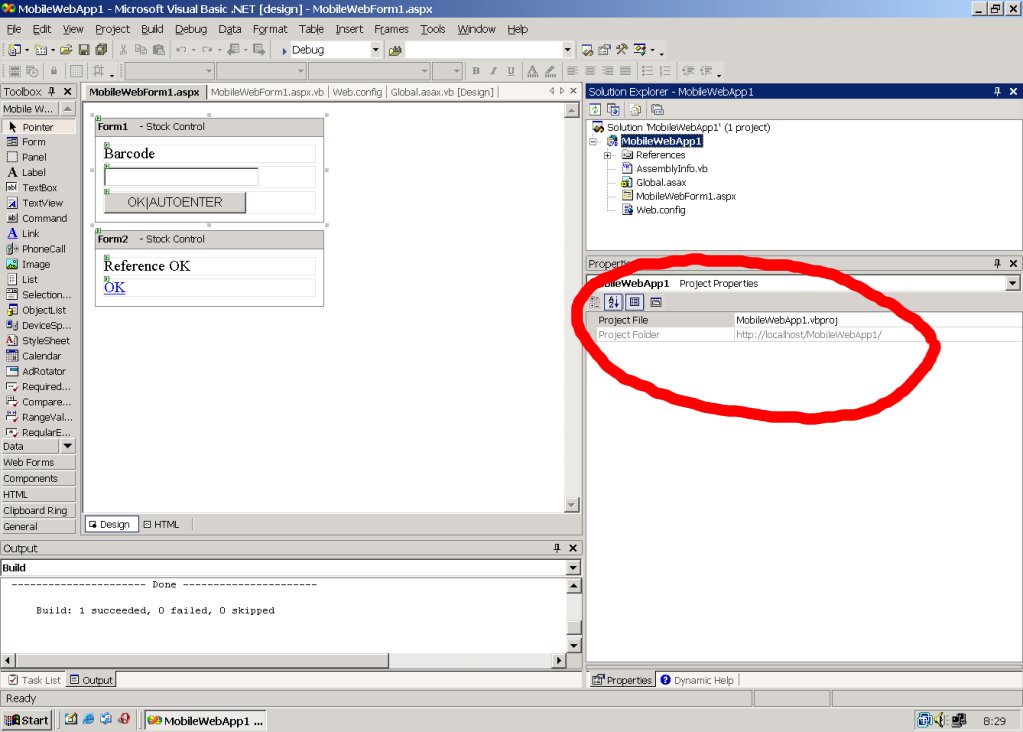

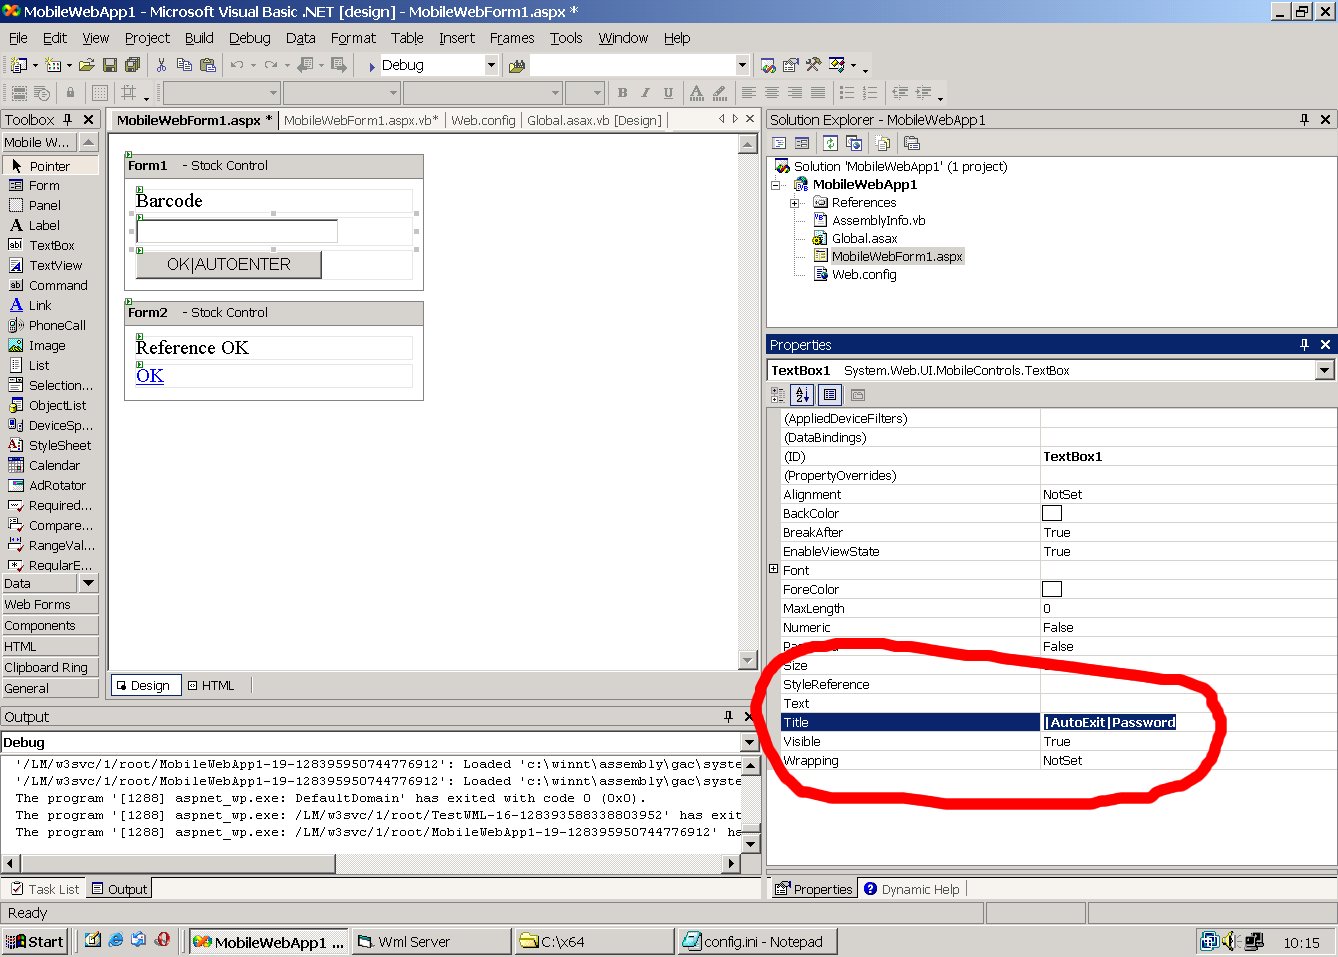
| Protected | Don't allow to change the input
text |
| AutoExit | Exit input at the end |
| Password | Password input |
| Number | Only numbers |
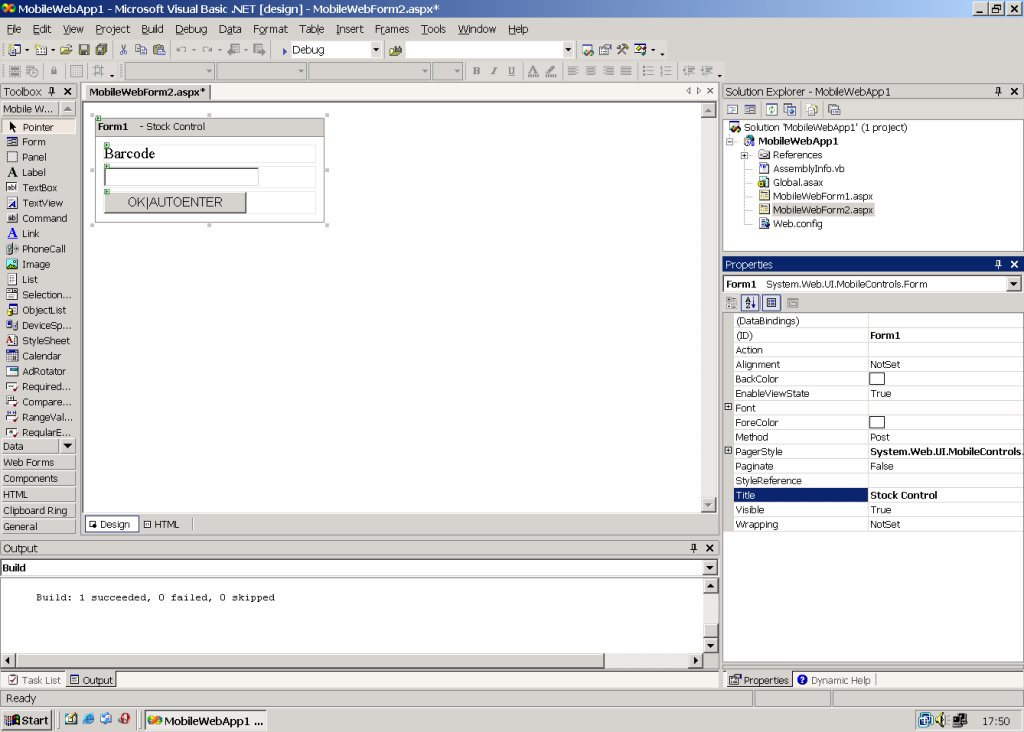
| Barcode | Turn Barcode ON |
| NotUnderlined | Don't underline the input field |
| NumberRightAligned | Input right aligned |
| ForceFunctionKeys | Show Function keys during the
input |
| NoFunctionKeys | Don't show function keys during
the input |
| BarcodeOnly |
Don't allow input from the
keyboard |
| Rfid |
Turn Rfid ON |